Drupal 8: The Group Module
Do you wish to create a community site or add community support to your existing site which is already built? Even though Drupal 8 core out of the box provides great support for creating these types of websites but the Group contributed module adds key functionality for dividing users and contents into small groups. It allows us to create collections of users and contents on our website and put access control permission on these collections.
In this tutorial, we will practice that how we can configure the Group module in Drupal 8/9. To keep things simple, we want to implement a scenario where the admin creates the Article content and makes it accessible to only a specific group of users. Other users who are not member of the group cannot access that specific article.
Step 1: Setting up Users
Before going into the actual stuff, I added a few users to my website as follows and going forward we will create different groups of these users as per our needs.

Step 2: Install the modules
The recommended way to download a Drupal module is using Composer. Download the Group module and go to /admin/modules to enable the required modules. Select the Group and Group Node modules and click on install.

The Group Node module allows us to associate nodes with groups. After installation you will see the Groups menu link in the administration toolbar.
Step 3: Add Group types
In order to add new groups, we need to have at least one group type.
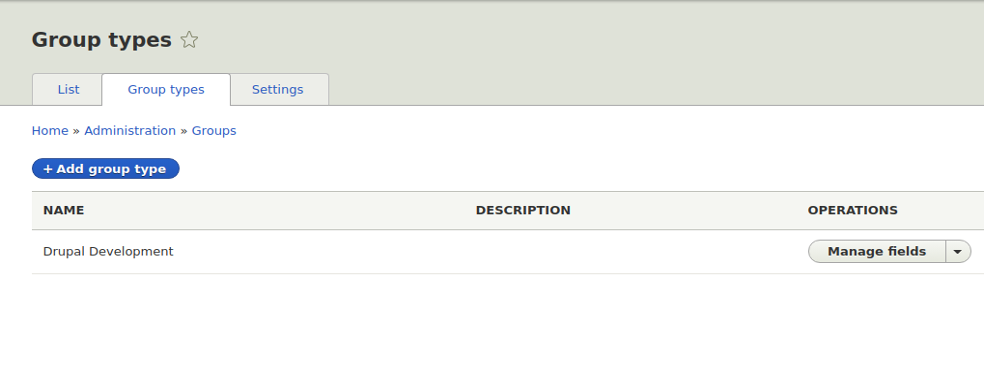
To add a new Group Type, go to /admin/group/types. We want to create a group type called ‘Drupal Development’ which by itself will be a fieldable entity and we can add additional fields if we want to describe groups of this type by adding some extra information.

In this example we are not adding any field to the group type entity we are creating but we only create the group type and that is all.
At this stage we create groups of type ‘Drupal Development’ and we can only add users(members) to these groups but we cannot add or associate nodes with it. This is why we have enabled the Group Node module at the start.
Step 4: Associate Content Types with the group type
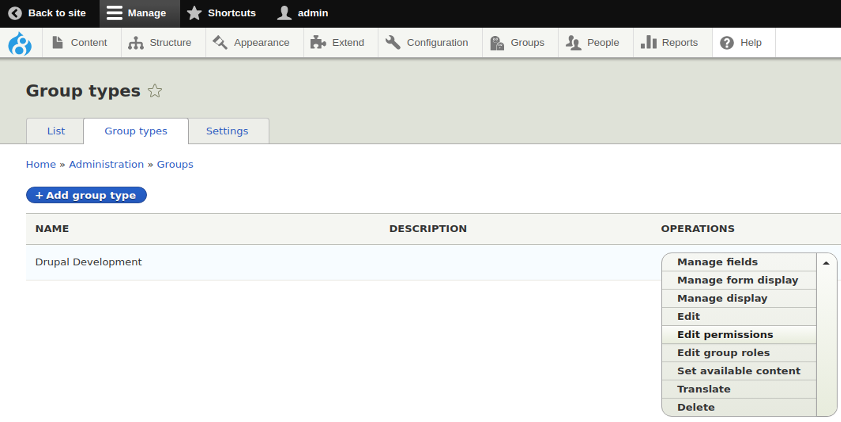
In order to restrict access to article nodes based on user group membership, first, we need to connect our content type to the group type. In this example, we want to make articles accessible to users who are members of a certain group. To do so, go to the group types page and open the mange field dropdown next to our group type. In the dropdown click on ‘Set available content’.

On the next page you see a list of installable plugins. Click on install for “Group node (Article)”. By doing this we created a new relationship entity which is also called “Group content” entity. This forms the relation between the group and the actual content but does not contain the content itself.

Click install plugin on the next screen.
Now we can create groups of type “Drupal Development”, add members to groups, and associate Article nodes to these groups. We can set group permissions to define who can view, edit or delete articles of this group. For example, we want only members of a specific group can view articles associated to that group and that is the actual concept of the Group module.
Step 5: Set group permissions
To edit the permissions, go to the group types page, open the Manage fields dropdown for your group type and click on Edit permissions.
The group module provides its own roles and permissions that users can be assigned to. We can create additional roles but out of the box the Group types use three special roles:
- Anonymous: This is the same as the global Anonymous role, meaning the user has no account.
- Outsider: This means the user has an account on the site but is not a member of the group.
- Member: The default role for anyone in the group. Behaves like the "Authenticated user" role does globally.
In the permissions section, you can see general Group permissions as well as permissions for Group Nodes.
In this example we want only members of the group to be able to access group nodes (Articles). To do this, find Entity: View any content item entities under Group node (Article) and grant this permission to Member Role and click Save permission.

Step 6: Add Groups
After setting up the group type, we start adding groups.
To add groups, click on the Group menu link in the administration toolbar and then click Add group. If you have more than one group types, you have to choose one of them.
If you have added the additional fields to the group type entity, you will see them in the add group form too. But in our case, we don’t have any additional fields and we only need to enter the title and URL alias and click on the create button.

This will lead you to the group summary page from where you can also add members and nodes to test with.

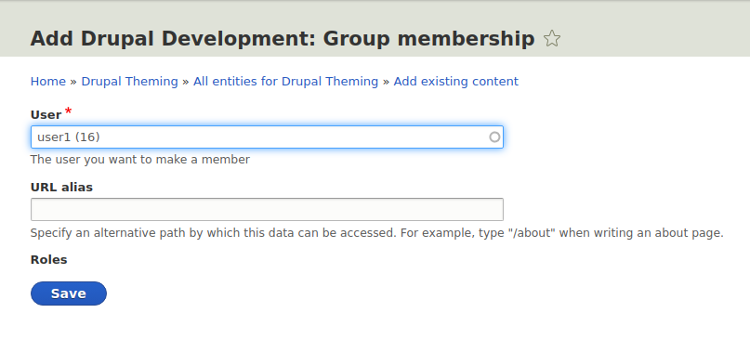
Click on “Members” tab to add members to this group. Choose one of the existing users and click save.
Click on “Nodes” tab to add new or existing node content to this group. Currently we can only add article nodes to this group as we configured in the group type creation.
When you add an article node to this group, only members (admin, user1) of this group can view it. To test it, login as another user and access the node page and you will get the access denied message.


Abdullah Shakir
Sr. Drupal Developer/ Module Developer/ Site Builder